This post was most recently updated on June 1st, 2021
Did you know that you can make apple cider vinegar at home from the scraps that you don’t eat? ACV is very easy to make at home, and as it is not filtered or pasteurized, homemade apple cider vinegar contains the very beneficial ‘mother’.
Please read: This information is provided for educational purposes only and is not intended to treat, diagnose or prevent any disease. We encourage you to make your own health care decisions in partnership with a qualified health care professional.
This post contains affiliate links, this means at no extra cost to you, we make a commission from sales. Please read our Disclosure Statement
The Benefits of Apple Cider Vinegar with the Mother
Apple cider vinegar is attributed all sorts of benefits. A popular kitchen staple, apple cider vinegar (ACV) dates back to ancient times, where of course it was all made at home. It’s said to have been used by Hippocrates as a health tonic and by American soldiers to combat indigestion, pneumonia and scurvy.
Apple cider vinegar with the mother is also very expensive to buy, especially the raw fancy apple cider vinegar when compared with run-of-the-mill white vinegar and it is dead easy (and pretty much free!) to make.
Discover the excitement and liberation that comes from creating herbal fermentations including herbal beer, herbal mead, herbal kombucha, herbal water kefir, and herbal lacto-fermented foods through both written instruction and video tutorials from my friends at Herbal Academy.
Some Notes on making ACV at home
Important Notes:
- This recipe does use sugar. The sugar is necessary to “feed” the bacteria, but most (if not all) of the sugar is fermented out. You can use honey, but it really does not work as well and causes the whole process to take longer.
- It is important to make sure all of your equipment and your jar are very clean. This process relies on natural yeasts and bacteria on the apple skins, if your jars are dirty this can contaminate the process and it will smell horrible.
- The flavour of your ACV will depend on the types of apples you use, as will the colour.
- White scum is going to form on the top. This is normal, it is a natural yeast called kahm yeast. Mold that is fluffy, grey, green, blue or black however, is not good and will spoil your ACV. Keep your apples submerged under the water as this will help prevent mold. I like to use a fermentation weight or even just a smaller glass jar filled with water and set it on top of the apples.
- Fruit flies, ants and gnats love ACV so you need to make sure your jar is well covered. However, it needs to be able to breath and release gasses created from the fermentation process so do not use a solid lid. Cheesecloth or a coffee filter work well.
How to make Apple Cider Vinegar from Scraps at home
You need:
Apples (not surprisingly).
You can just use the scraps of 6-8 apples for the vinegar and use the good stuff to eat, make yourself an amazing pie or can/freeze for next time you need some.
A big glass jar
This will need to be big enough to fit your scraps in. Lots of scraps = a big jar and lots of cider, and smaller amount of scraps, a smaller jar and less ACV. 6-8 apples makes a 1L /1Quart jar
A cloth
This is to cover the top of your jar and either a rubber band or some string to secure it.
Water
Sugar
This is to help feed the bacteria and yeast to ensure a good amount of alcohol develops to convert to vinegar.
To make ACV at home you will also need:
- Time
- A dark warmish cupboard
Making Apple Cider Vinegar Instructions
1. Prep your apples
Peel and core your apples – you need 6-8 apples for a 1 litre/1 Quart jar.

2. Eat your apples
Make something delicious with the yummy bits of the apples.
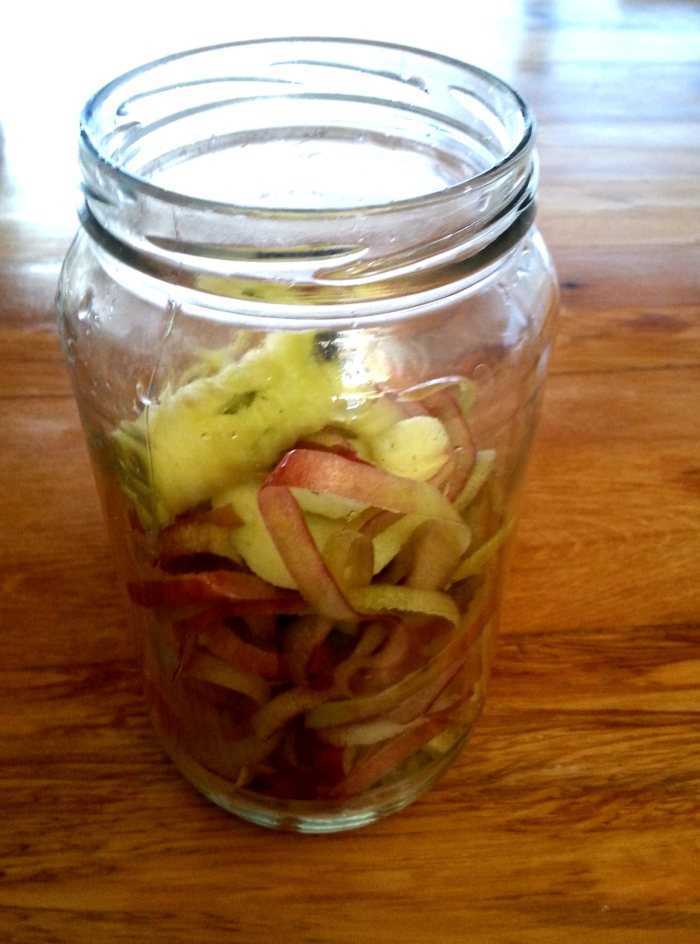
3. Load up your ACV jar
Put your peels and cores in your jar. Add 2 Tablespoons of sugar for each quart/litre.
4. Cover the scraps with water
To keep them submerged place a small jar full of water on top of the apple peels as a weight. You want just enough water to fully cover your apples.

5. Cover and secure
Cover the jar loosely with a cloth, securing it with a rubber band or piece of string. This allows your ACV to breathe while keeping the pesky fruit flies out.
6. Store to ferment
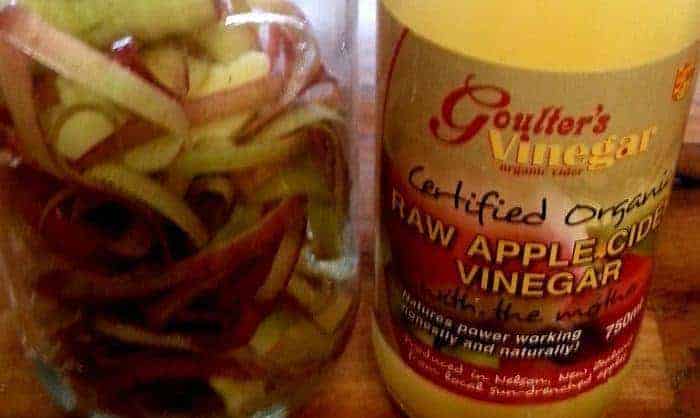
Sit your jar somewhere at room temperature for 2-3 weeks. If you add a splash of raw apple cider vinegar it speeds up the process and you will only need to leave it for 1-2 weeks.
7. Strain
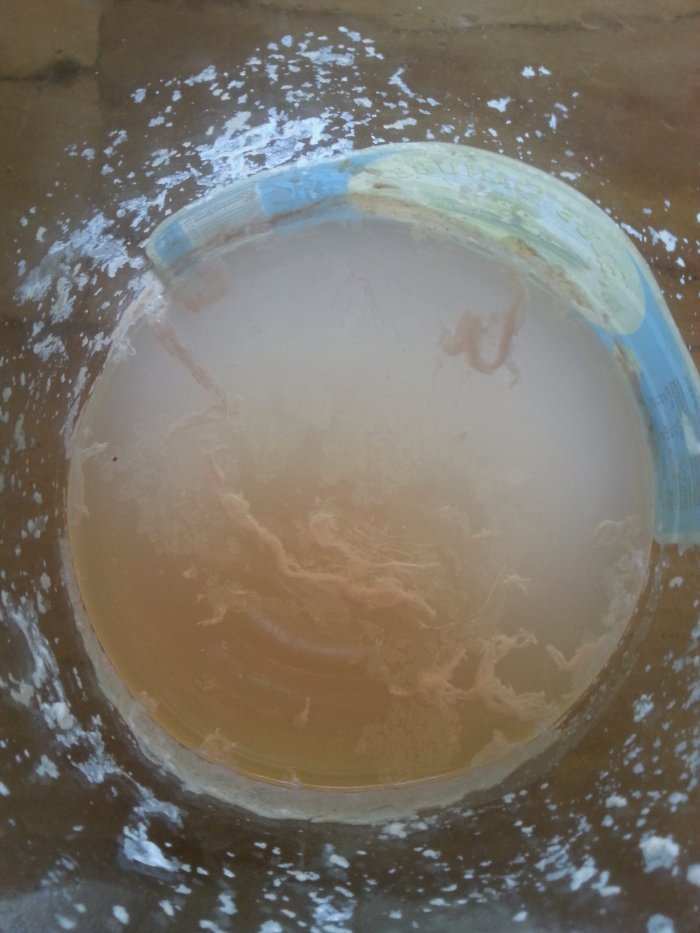
After a couple of weeks, strain out the apple pieces. At this stage, it should smell alcoholic – hence the cider bit in the name. Vinegar is alcohol that is then metabolized by bacteria and converted into vinegar.
8. Re-cover and rest again
Re-cover with the cloth top and pop back into your darkened cupboard for further 6-12 weeks. It is ready once it tastes like vinegar and the alcohol smell has gone.
9. Bottle
It should have some floaties in the mix by now, this is the SCOBY (Symbiotic colony of bacteria and yeast)/mother. Simply strain out the chunky bits and store and a clean glass bottle. It is now ready to use however you wish!

I have been having a teaspoon full in a glass of water in the morning. Apparently, it is good for what ails you. And it doesn’t taste bad either, quite similar to lemon water really. Read 23 uses for apple cider vinegar here.
Do you use ACV for anything at your house?
How to make apple cider vinegar from scraps Making Apple Cider Vinegar Instructions 2. Eat your apples 4. Cover the scraps with water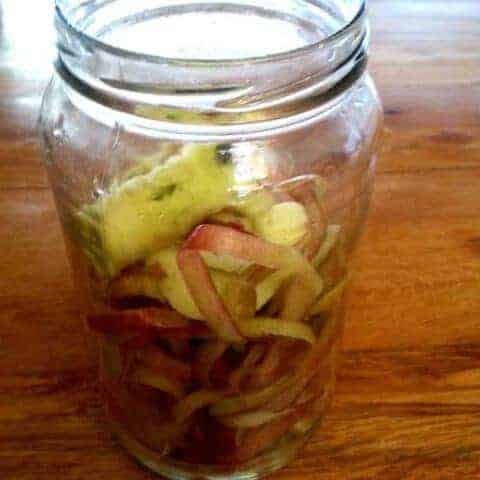
How to Make Apple Cider Vinegar with the Mother from Scraps
Ingredients
Instructions
1. Prep your apples
Peel and core your apples - you need 6-8 apples for a 1 litre/1 Quart jar.
Make something delicious with the yummy bits of the apples.
3. Load up your ACV jar
Put your peels and cores in your jar. Add 2 Tablespoons of sugar for each quart/litre.
I started with a 1L jar but I had lots of bits, so I switched to once of my 3L jars
To keep them submerged place a small jar full of water on top of the apple peels as a weight. You want just enough water to fully cover your apples.
Just enough water that everything is submerged, it might float at first, but it will sink with time.
5. Cover and secure
Cover the jar loosely with a cloth, securing it with a rubber band or piece of string. This allows your ACV to breathe while keeping the pesky fruit flies out.
6. Store to ferment
Sit your jar somewhere at room temperature for 2-3 weeks. If you add a splash of raw apple cider vinegar it speeds up the process and you will only need to leave it for 1-2 weeks.
This is the raw ACV I found at the supermarket. I added a little splash because I had some on hand, but you don't need to!
7. Strain
After a couple of weeks, strain out the apple pieces. At this stage, it should smell alcoholic - hence the cider bit in the name. Vinegar is alcohol that is then metabolized by bacteria and converted into vinegar.
8. Re-cover and rest again
Re-cover with the cloth top and pop back into your darkened cupboard for further 6-12 weeks. It is ready once it tastes like vinegar and the alcohol smell has gone.
9. Bottle
It should have some floaties in the mix by now, this is the SCOBY (Symbiotic colony of bacteria and yeast)/mother. Simply strain out the chunky bits and store and a clean glass bottle. It is now ready to use however you wish!