
This post was most recently updated on July 27th, 2021
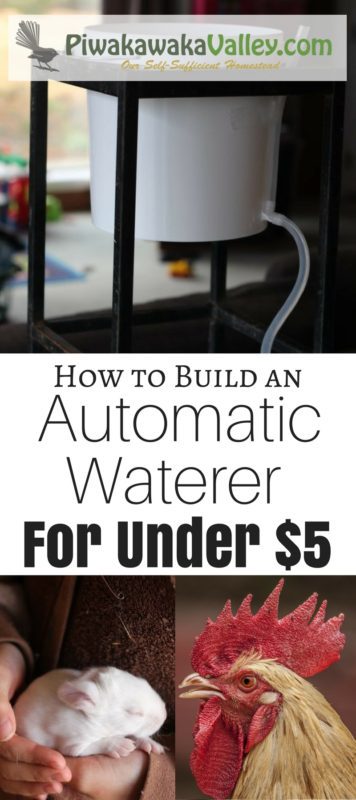
Our rabbits live in a colony, and they have been using metal bowls for their water. However they always tip over their water bowls before everyone has had a chance to have a drink. I decided that it was time to make an automatic water system for the rabbits and another one the same for the chickens.
Please read: This information is provided for educational purposes only and is not intended to treat, diagnose or prevent any disease. We encourage you to make your own health care decisions in partnership with a qualified health care professional.
This post contains affiliate links, this means at no extra cost to you, we make a commission from sales. Please read our Disclosure Statement
Automatic watering systems take the worry out of watering the animals. An auto waterer can last for several days and it keeps rabbits and chickens from making the water dirty or tipping it out.
RELATED: Make a J feeder and hay rack
For this stand alone DIY Rabbit Watering system you need:
To make this automatic water system for our rabbits I used a few things that I had laying around, but you could easily replace these with things you have or can make.
RELATED POST: How to HALVE your Chicken Feed bill
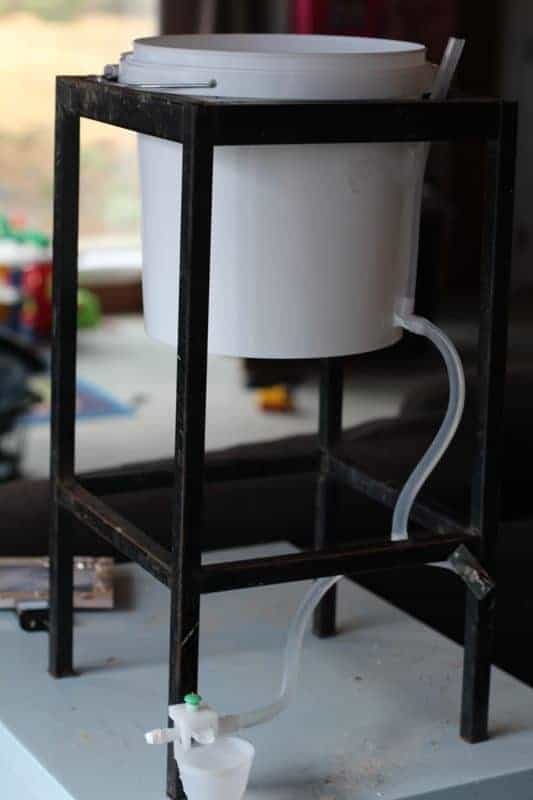
Frame
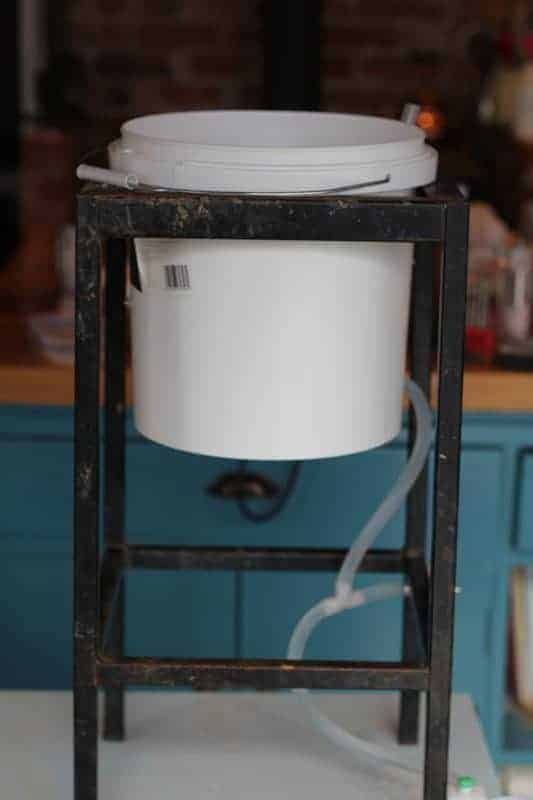
I have based the whole automatic waterer system around a metal barstool frame that we had laying out in the paddock. You could easily make a stand that is similar with pallet wood.
It just needs to be sturdy and keep your bucket up a little bit off the ground, ideally the water nipple would be at or below the bottom of the bucket to ensure that gravity does what it needs to do.
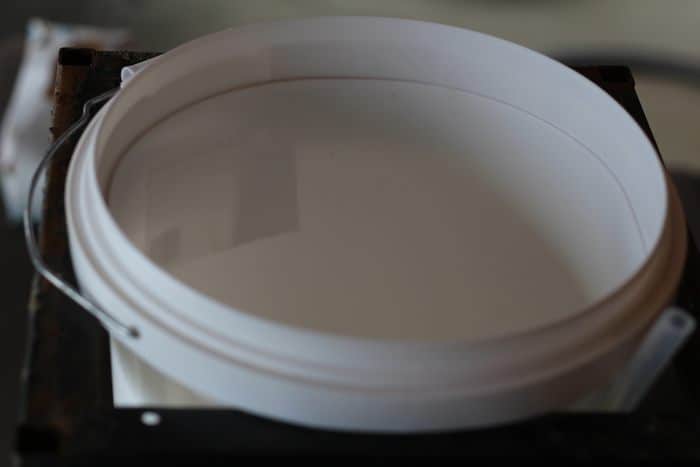
Bucket and Lid
The 8L/2 gal plastic bucket with a lid was one that I had in the laundry already. You could probably get yourself a free icing/frosting bucket from a local bakery.
Silicone Sealant
I had half a tube of silicone in the garage from doing odd jobs around the house.
Hardware cloth/netting/small welded wire
For the netting that I discovered was required AFTER they chewed all the first lot of hose up, I used some welded mesh that was left over from building their house. Every homestead has chicken wire or wire mesh laying around, find your stash!
RELATED: Feeding rabbits naturally
Water Nipples for Rabbits (or bowls for chickens)
The two things I did buy were the water bowls/nipples and the hose.


Tubing
You will need some food grade tubing that fits your attachments, I used this silicone tube.

Note: I bought the lubbing cups (the bowl water thingies) as my bunnies didn’t know how to work the water nipples but I have discovered that they have chewed them quite a lot. So for chickens the cups are great, but for rabbits, I would stick with the metal nipples.
How to build an automatic watering system for rabbits and chickens.
Step one
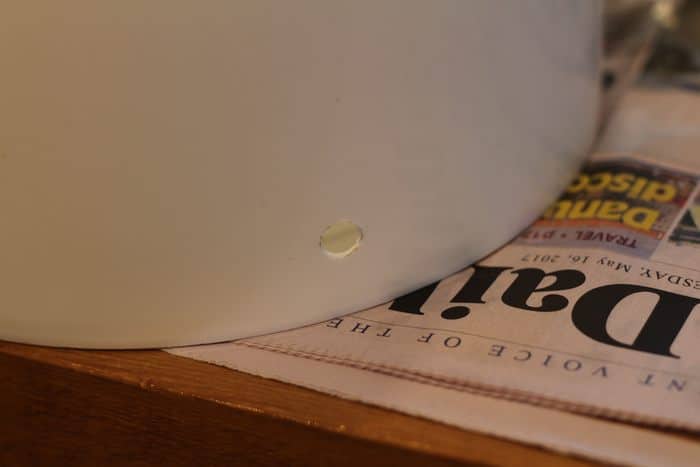
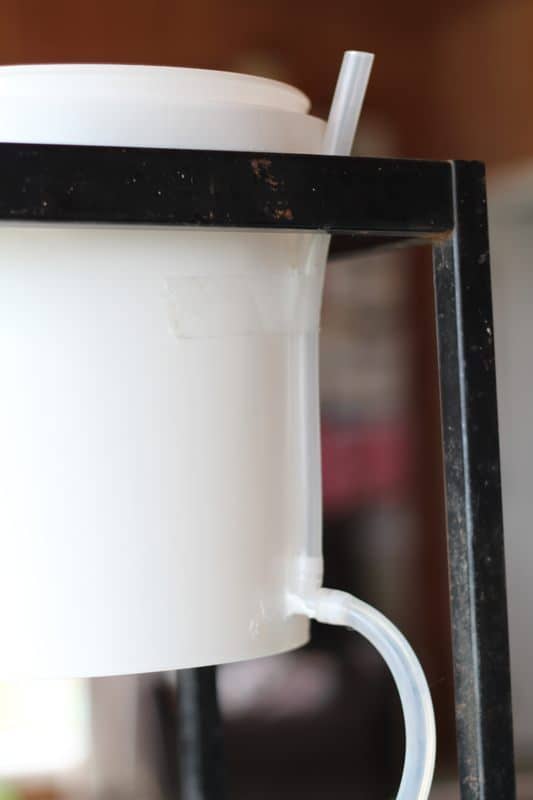
Is to drill a hole in the side of the bucket. It needs to be about 1 inch up from the bottom of the bucket to stop the things that will somehow end up in water from blocking the tube.
It needs to be the right size so that one of your T joiners only just fits through it with a little bit of force.
Step two
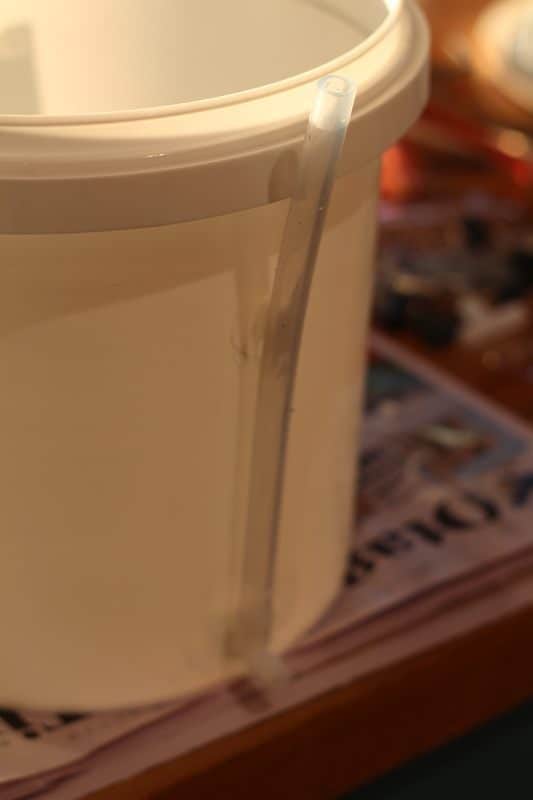
I inserted a T connection into the hole and made part of it point up and the second to point out straight. The part that points up is where I connected a length of clear hose so I can tell how full the bucket is without removing the lid.
Step three
Silicone around the inside of the bucket where the T connection goes in, and I used it as glue to hold the water level hose to the bucket.
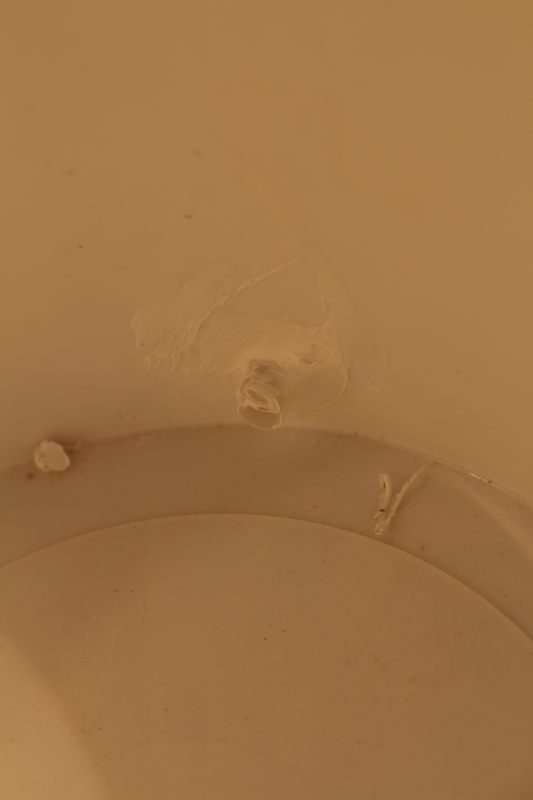
The lubbing cup needed one end to be sealed off with silicone as I am not connecting them in series.
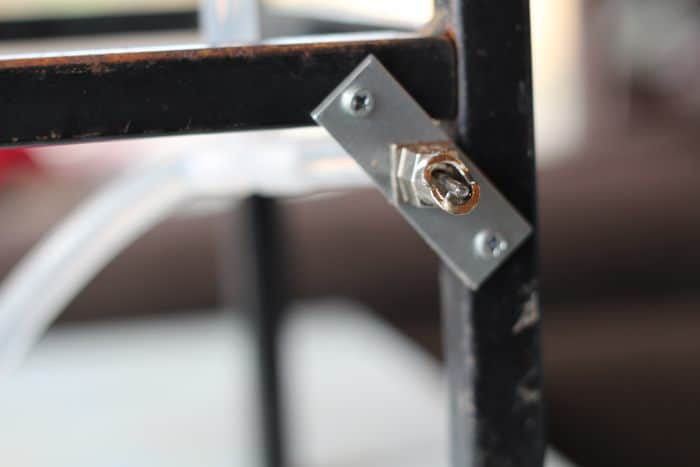
Step four
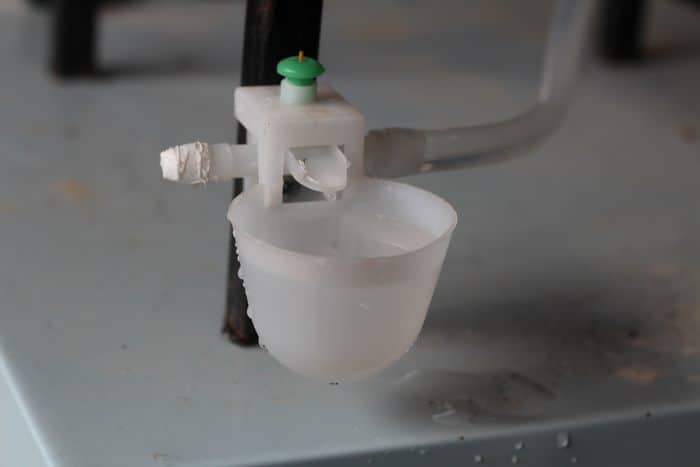
I screwed the nipple and cup to the stool legs. You could make a frame with timber, even from pallet wood. This stool just happens to fit my bucket in just perfectly. I did pre-drill the holes in the metal legs.
Step five
Attach all the hose to the connectors.
Step 6
Wrap the whole thing around the sides with hardware cloth/netting to keep the rabbits away from the tubing and the bucket – if it is plastic, they will chew it!
Step 7
After 24 hours for the silicone to set, I tested that all the joints and connections worked with actual water in it. The top of the lubbing cup has a screw on it (green in the image above) that you can alter to stop the water overflowing the cup.
Want to know all about raising rabbits in a colony?
Check out our very own book here:

Available on Kindle and in paperback or from our store
Now I have also wrapped all the sides in netting, very securely. This is to stop the rabbits from being able to access the hose, as my mark I version was chewed out in under 24 hours!
How to make an automatic for cages
If you keep your rabbits in hutches or hanging cages, having an is a real time saver. You can make an effective system using the above method without needing to buy expensive .
The up side to a rather than a or is that you only have one big to fill up with rather than individual bottles.
You can put a release or tap on the end of your system so that you can flush the through.
This is helpful if you need to quickly prime the line to remove air or if you want to flush through clean . It also allows you to drain the system to avoid the splitting in a frost.
In the you can also attach a with a that will allow the cistern to refill when the level is getting low. A (20L) is enough to feed 4-6 cages with a constant for several days before it will need topped up.
For a you will want nipples like these that can hook on to your wire walls. They usually come with the T pieces that you need to attach the in a series.
One thing to be aware of is if your cages are stacked, make sure the top is not directly above the lower as it will drip in when the above uses the and will ruin the lower ‘s feed. I did exactly this and learned this lesson the hard way!
To hang your up, I have used a very simple macramé hanger made with knots and baling twine from our used hay bales.
**UPDATE** The rabbits chewed out the plastic lubbing cup within days. The chickens however are great with them. The rabbits now just have the metal rabbit waterer attachment which works great. Just don’t let them access the hose!
Do you have an automatic watering system setup? Tell me about it in the comments below!


Please Pin and Share with Friends and Family.


1 thought on “DIY Rabbit Watering System: How to Build an Automatic Water System for Rabbits for Less than $5”